Simple and Sweet Card for a Perfect Summer Hello!

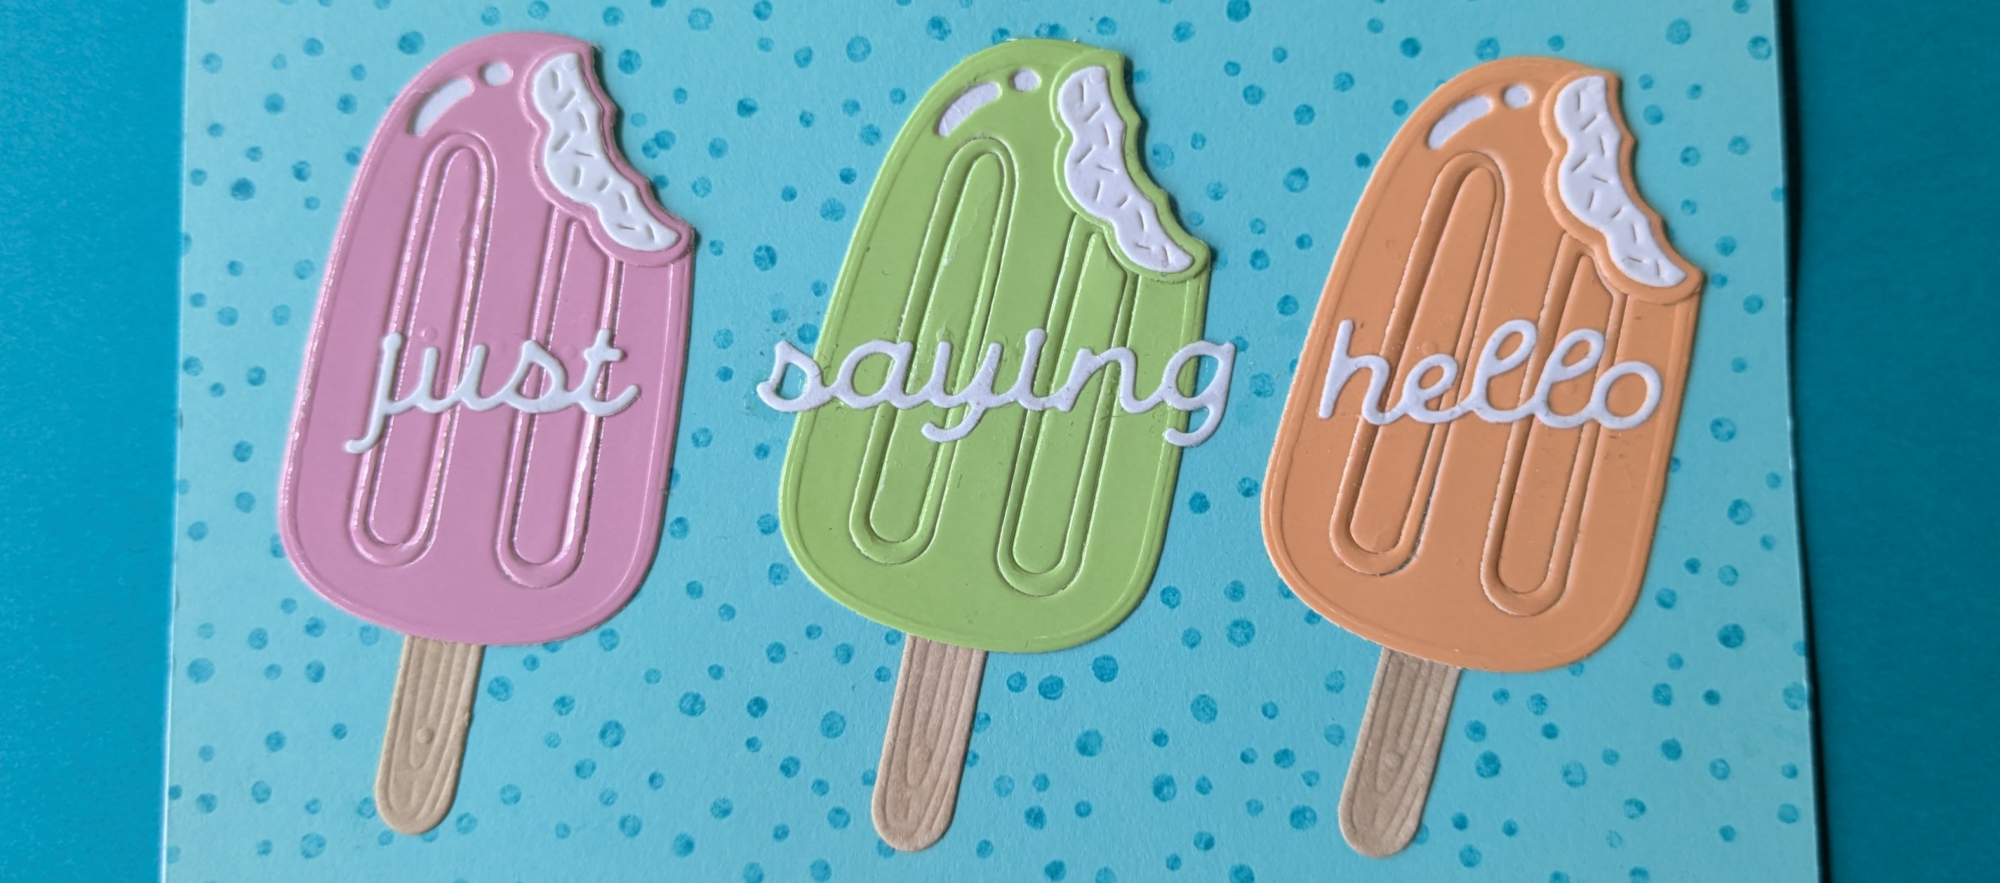
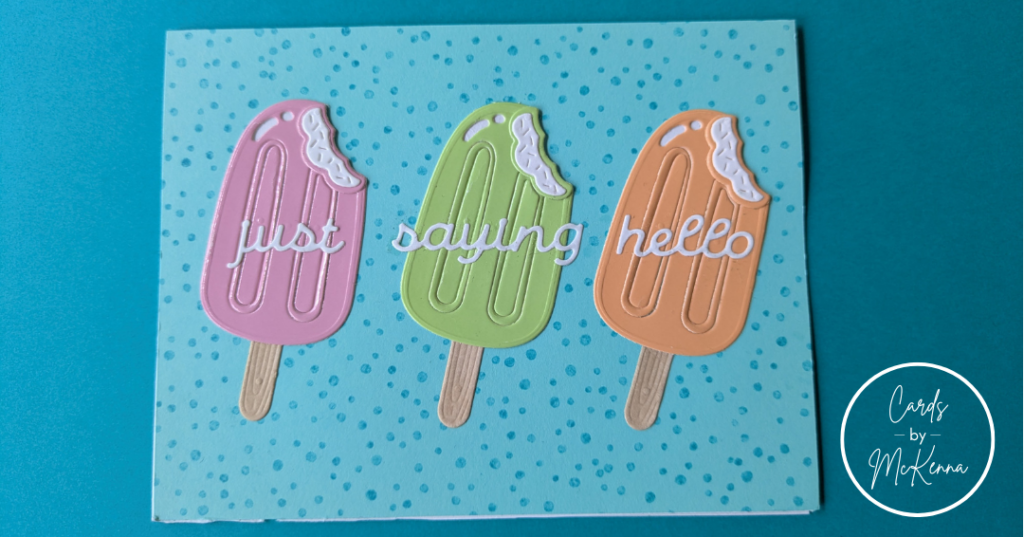
A horizontal card on a dark turquoise background. The base of the card is aqua with speckled turquoise dots. Three creamy popsicles are arranged in a row, one pink, one light green, and one orange. The sentiment "just saying hello" is placed across the popsicles.

We’re headed for triple-digit heat in my part of the world, so let’s cool off with this bright and colorful hello card!

Starting with the base, I used one of my go-to techniques for anytime I need a background with just the right amount of interest: creating DIY patterned paper with tone-on-tone stamping! For this technique, you need a stamp or cluster of stamps you’ll use to create a repeating pattern, and an ink that is a shade darker than your base paper.

A horizontal card on a dark turquoise background. The base of the card is aqua with speckled turquoise dots. Three creamy popsicles are arranged in a row, one pink, one light green, and one orange. The sentiment "just saying hello" is placed across the popsicles.

After picking an aqua paper for the base, I took the snow globe filler stamp from the Little Snow Globe: Dog stamp set from Lawn Fawn and Remember Me Simon Hurley dye ink. This stamp is only about an inch in diameter, so I mounted the stamp on an acrylic block, then stamped it again and again, rotating it to fit the gaps available until the whole panel was covered.

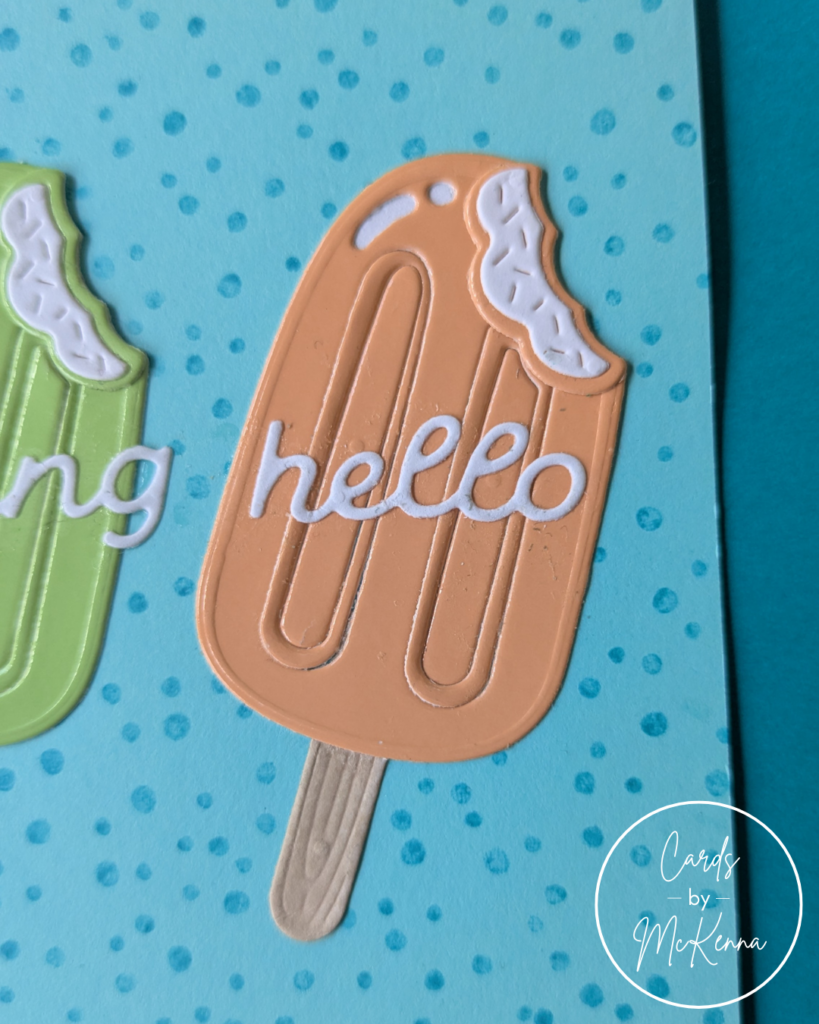
For this card’s focal points and sentiment, I pulled from the 2024 Spellbinders Crafty Advent Calendar because these sets are too fun to leave behind in the past! I die cut the popsicles from glossy pastel paper with white accents, then cut the sticks from tan paper. To help me attach all of the inner cutouts for the popsicles dimples, I backed the popsicle body with a piece of copy paper and glued the cutouts to the paper before adhering the completed treat to the base.

A detail view of the main card, zoomed in on the orange popsicle. The word "hello" is glued on top of the popsicle.

I arranged the popsicles in a row, using the rule of thirds to keep them evenly spaced. To tie in the white of the popsicles’ inner fillings, I cut the sentiment from the same white paper, then centered each word on one of the popsicles. And with that, today’s bright and sweet card is complete!

I hope you enjoyed today’s card! For more projects like this, check out my blog and my Instagram . Thanks for stopping by!
Unique and Adorable Anniversary Card with Lawn Fawn!

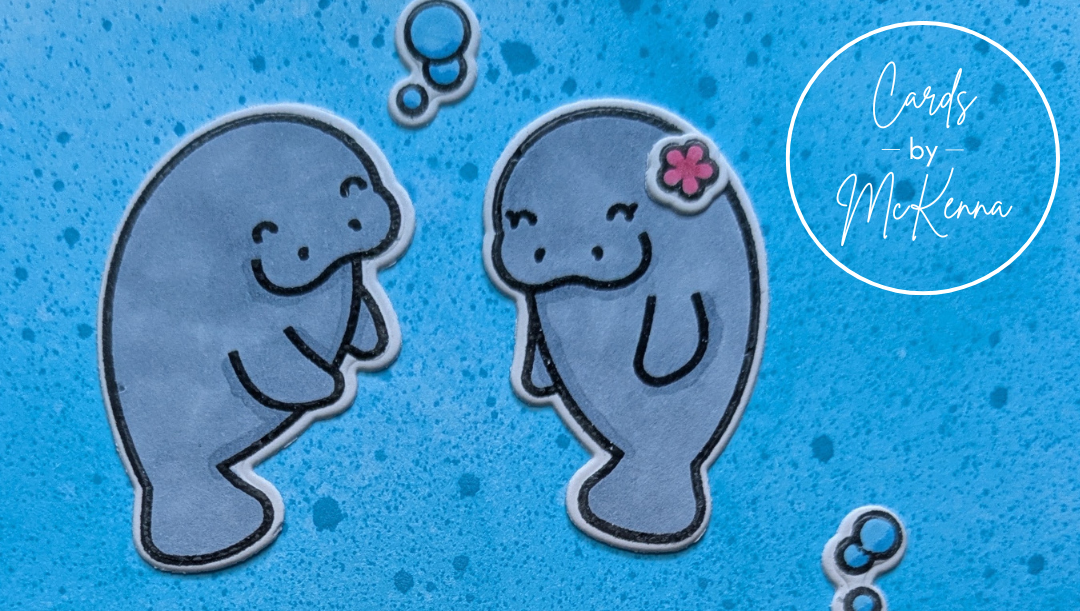
Two cute stamped manatees swim next to each other on a bright blue ocean background

Today, I want to share a colorful and cute anniversary card that’s sure to stand out from the rest.

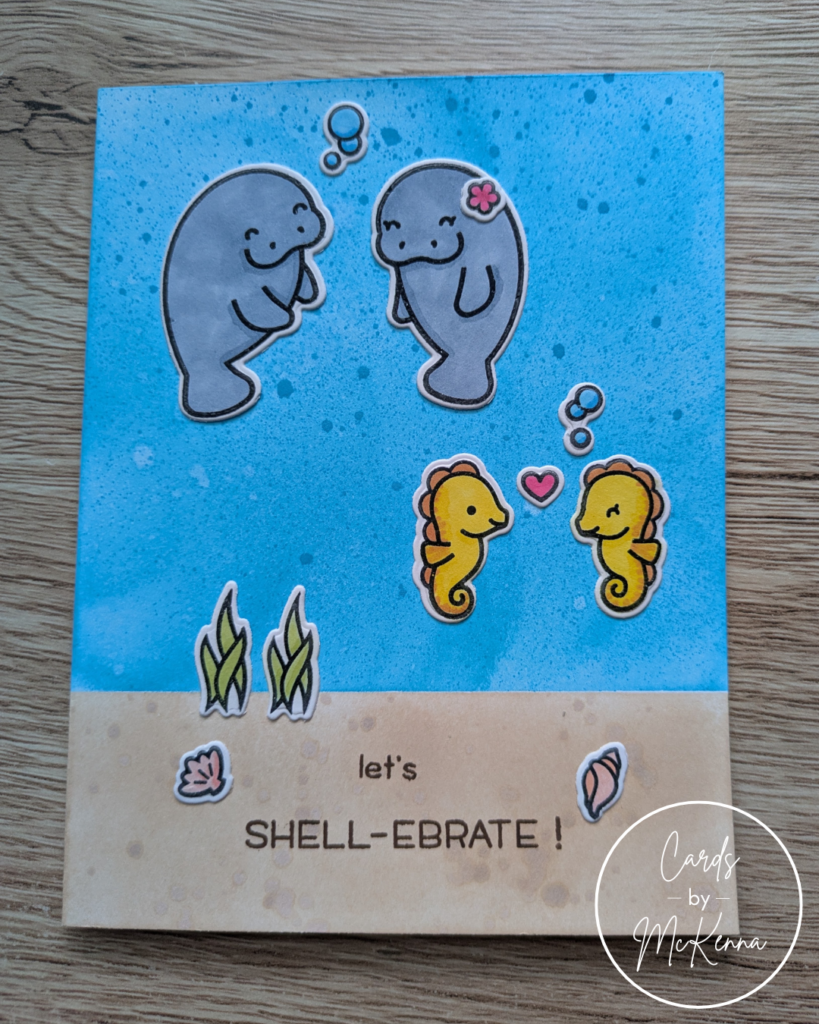
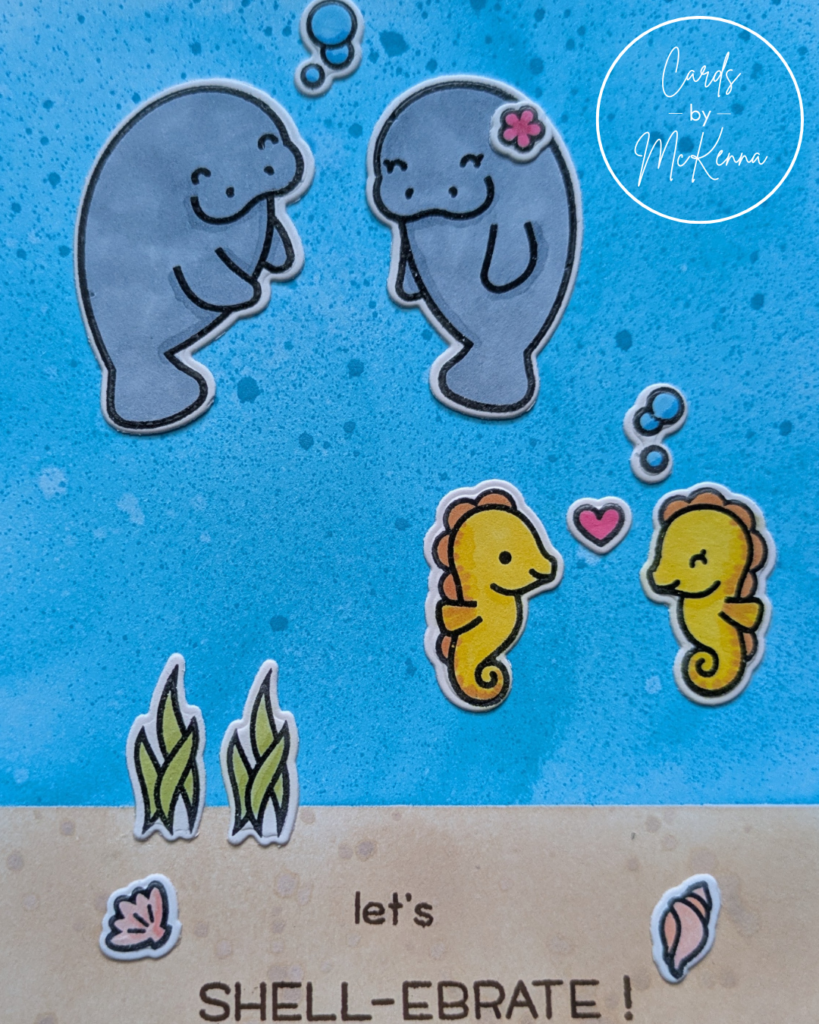
For this card, I stamped and clear embossed images from two Lawn Fawn stamp sets: Manatee-rific for the manatees, their bubbles, seaweed, and shells; and Seahorsin’ Around for the seahorses and their bubbles. I colored all of the images with alcohol markers, then cut them out with the coordinating dies. 

A handmade card with two manatees and two seahorses in a cute drawing style. The background is a bit blue ocean with a sandy ocean floor. The card reads "Let's Shell-ebrate"

For the background, I used low-tack tape to mask off the card into 3/4 and 1/4 sections. To keep the card extra light for mailing, I created the background directly on the card base. For the ocean portion, I blended a blue background with Simon Hurley dye inks (Clear Skies and Remember Me), then spritzed some Distress Oxide spray in Mermaid Lagoon to add texture and depth to the water. 

For the sand, I blended Altenew Sand Dunes Fresh Dye Ink as the base, then smushed some Rocky Shores (also Altenew) on my work surface and mixed it with a bit of water to create watercolor that I spattered on with a paint brush. Together, the darker splatters on the water and sand add visual texture and depth to this nearly one-layer card! 

A zoomed-in picture of the handmade card with two manatees and two seahorses in a cute drawing style. The background is a bit blue ocean with a sandy ocean floor. The card reads "Let's Shell-ebrate"

I glued the animals in place, then placed the bubbles and seaweed to create a Z sight line. I stamped my sentiment directly onto the sand in Altenew Espresso ink, and added the two seashells to balance the card and fill out the bottom portion.

I hope you enjoyed today’s card! For more projects like this, check out my blog and my Instagram . Thanks for stopping by!